

Navigating and Arranging Music on the Timeline Editor
Dec 19, 2025

Navigating and Arranging Music on the Timeline Editor
The Timeline Editor provides a professional, grid-based workspace for hands-on control. It allows you to arrange, refine, and customize music at the stem and instrument level, combining the speed of AI generation with the precision of a Digital Audio Workstation (DAW).
1. Understanding the Interface and Controls
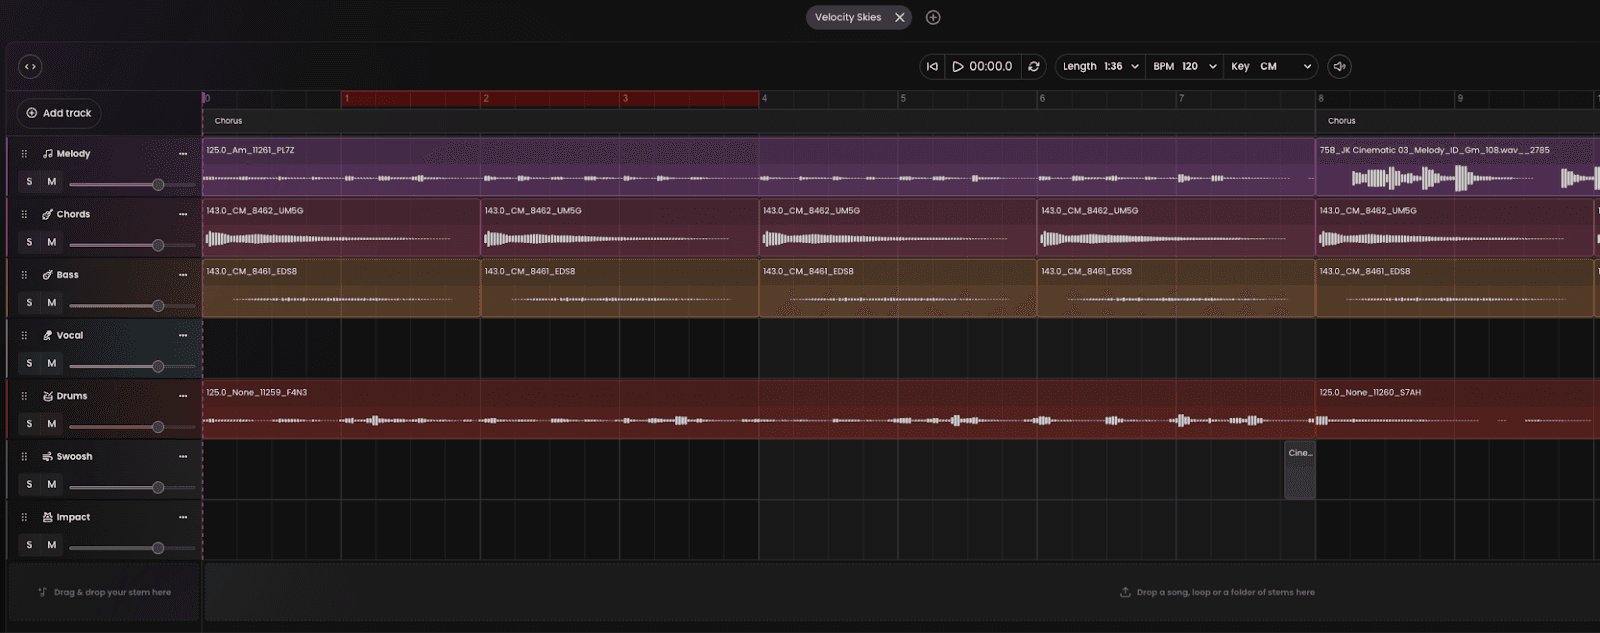
The Timeline Editor is organized into several key areas:
A. The Track Area (Left Panel)
This panel manages all the individual instrument tracks (stems) in your project.
Track Name: Identifies the instrument or stem (e.g., Melody, Bass, Drums). Click the name to rename the track for better organization.
Reorder Handle: Click and drag the 6 dots on the left to vertically reorder the tracks on the timeline.
Mute: Click the M button to silence a single track.
Solo: Click the S button to hear a single track in isolation
Add Track: Click “+ Add Track” to insert a new, empty track for custom loops or stems
B. The Project Controls (Top Bar)
These controls define the global settings for your song:
Project Name: The name of your saved project. Right Click on the project name to rename the entire project
Transport Controls: Skip to beginning, Play/Stop and Time Display
Loop: Allows you to continuously repeat a section of your song, indicated by the red bar on the timeline.
Length, BPM, Key: Adjust and customize the duration, master tempo, or musical key of your project
2. Arranging Music: Editing Elements
Total creative control comes from manipulating these elements on the grid:
A. Basic Manipulation
Move: Click and drag an element horizontally to move it to a different point in the timeline, or vertically to move it to a different track (e.g., moving a loop from the Melody track to the Other track).
Shorten/Extend: Drag the right or left edge of an element to shorten it or to automatically extend the element’s content to fill more time.
B. The Three-Dot Menu (Element Options)
Each element has a three-dot menu (⋯) in its corner, providing dedicated controls for that single element:
Mute: Silence this specific element without muting the entire track.
Copy: Create a duplicate of this specific element.
Delete: Remove the element from the timeline.
C. Regenerate Instrument
Click the AI icon
By learning to navigate the track controls and master the editing tools, you gain the ultimate power to shape your music precisely within Tuney Producer.