

Understanding the Tuney Producer Workflow
Dec 12, 2025

Tuney Producer is designed to be a fast, flexible, and powerful bridge between automated creation and hands-on production. The core workflow is a multi-stage process that allows you to rapidly go from an initial idea to a professional, final song.
Here is a step-by-step tutorial on the seamless end-to-end workflow:
Step 1: Let’s make a song
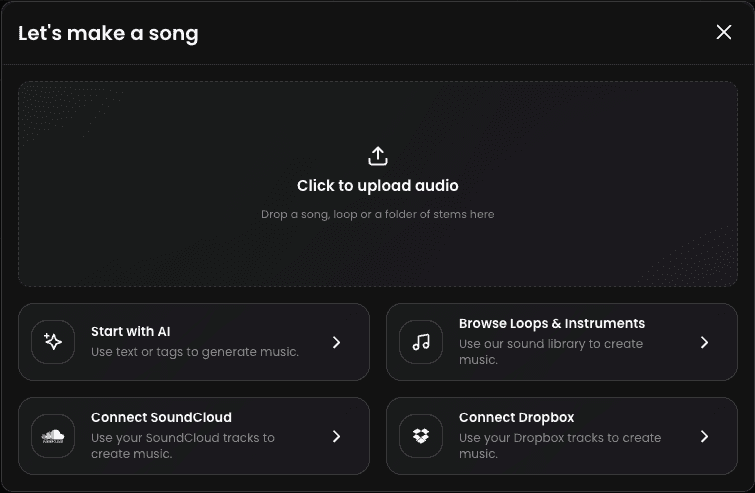
To get started, select one of Tuney’s various ways to create a new project:
Start with AI: Enter a text prompt (e.g., "Gritty 90s Hip-Hop beat with a cinematic string loop") or select tags to describe your desired track.
Upload Audio: Upload any audio file (a full song, a vocal acapella, or a loop) from your computer or your SoundCloud/Dropbox account. Tuney uses AI Stem Separation to analyze the file and automatically split the song into separated tracks in the project.
Browse Loops & Instruments: Select a sound from Tuney’s built-in sample library to place a first loop as the foundation of a project.
Once you are satisfied with the initial idea, whether it’s a generated song, loop or uploaded vocal, click "Move to Grid" or drag the element onto the grid to move to the next step.
Step 2: Refine the Arrangement (The Timeline Editor)
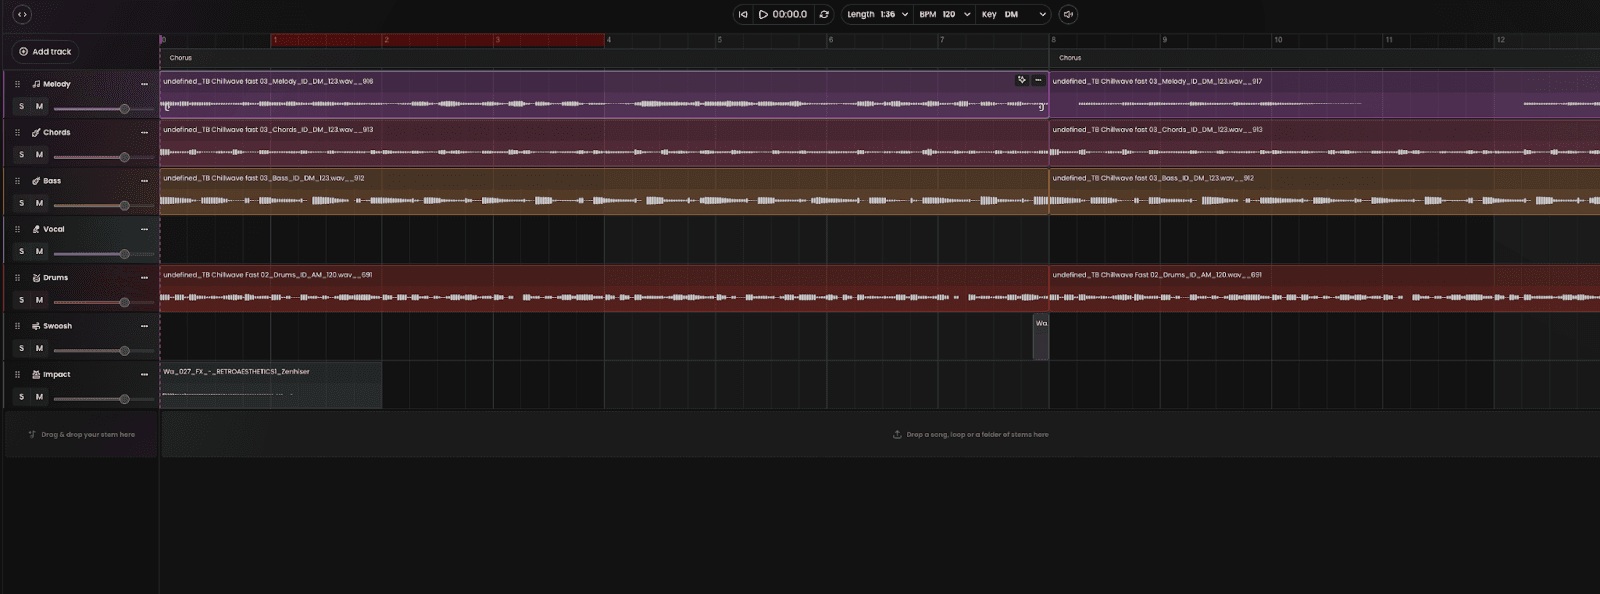
You are now in the Timeline Editor, the grid-based view that gives you total creative control, similar to a traditional Digital Audio Workstation (DAW).
Review the Tracks: Your project is now laid out vertically as individual tracks. You will see the musical clips (like the Bass, Drum, and Melody) horizontally across the grid.
Arrange the Song Structure: Use the basic editing tools to start building your arrangement:
Move: Drag the clips to reposition them in the timeline
Copy/Loop: Copy elements and loop it for a longer section, like a verse or chorus.
Delete: Remove elements you don't need (e.g., deleting the melody track for a four-bar breakdown).
This phase is about taking the initial AI-generated or imported content and structuring it into a full song (Intro, Verse, Chorus, etc.).
Step 3: Mix and Add Sounds (Adding Polish and Detail)
Once your song structure is in place, you can focus on the fine details of the mix.
Basic Mixing: Use the Mixer Panel on the left or bottom to set the volume levels for each stem/track
Add New Sounds: If you want to replace an AI-generated sound or add a new layer:
Browse Sounds or My Files to add a new instrument or sample
Drag and drop the new loop or one-shot onto an empty track or replace an existing clip.
Step 4: Download and Export Your Finished Track
The final step is to prepare your song for distribution or for continued work in an external studio environment.
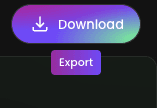
Choose Export Format: Navigate to the Export menu. You will have two key choices:
Master Mix: Export the final, stereo-mixed file (e.g., MP3 for sharing or High Fidelity WAV for professional use).
Stems: Choose to export all of the individual, separated track files (WAV format) for mixing in another Digital Audio Workstation (DAW) like Pro Tools or Ableton Live.
Share and Distribute: Use the integrated sharing tools to publish directly to platforms like SoundCloud, or download the files for commercial release.
By following this process, you fully utilize the speed of AI creation and the control of the Timeline Editor, completing your music production in one seamless workflow.